Experiments
Feather Float Experiment
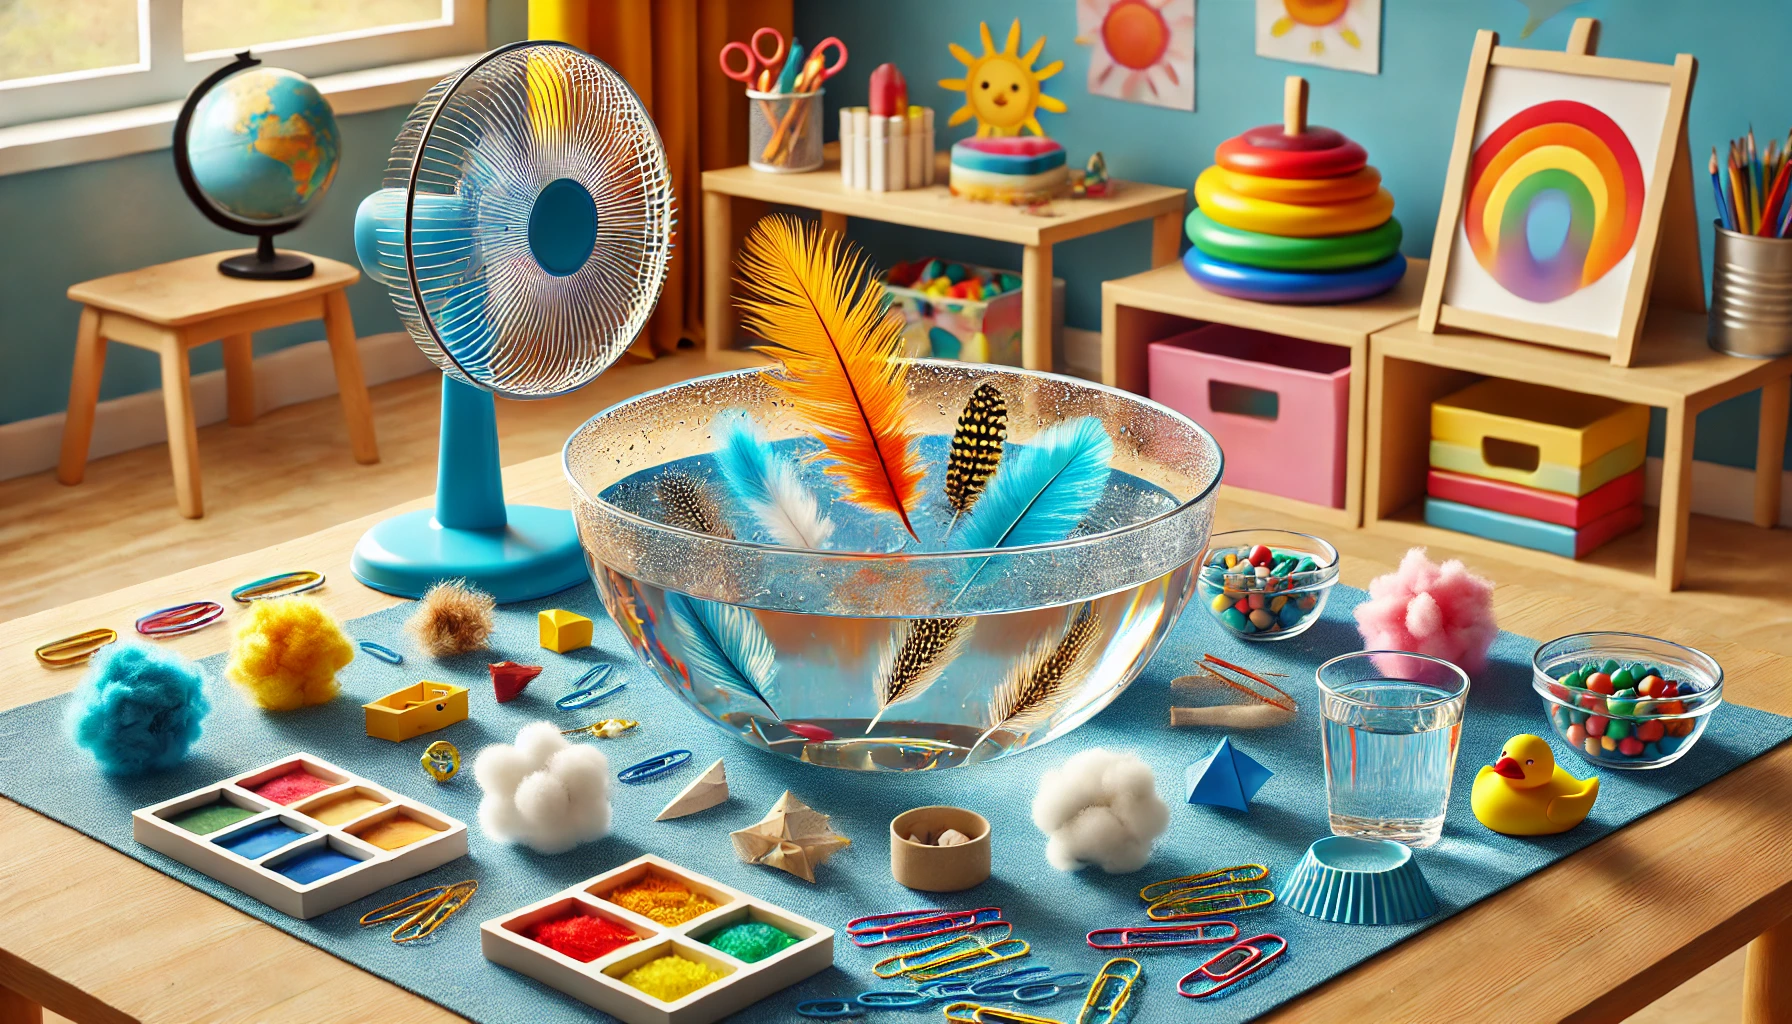
Materials:
- Feathers
- Lightweight objects (e.g., cotton balls, paperclips, foam shapes)
- Plastic cups
- Large bowl or container
- Water
- Optional: Fan (to create airflow over the water surface)
Preparation: Fill a large bowl or container with water and place it on a stable surface. Arrange the feathers and lightweight objects (cotton balls, paperclips, foam shapes) nearby, along with plastic cups for any additional experimentation or predictions. If using a fan, position it to blow gently over the surface of the water. Introduction: Gather the children and introduce the experiment. Explain that they will be testing different objects to see if they float or sink in water. Encourage them to make predictions about each object before conducting the test. Testing Objects: Take turns with each child or group of children selecting an object (feather, cotton ball, paperclip, foam shape) and dropping it gently into the water. Observe and discuss whether each object floats on the water's surface or sinks to the bottom. Encourage children to record their observations and compare them with their predictions. Optional Fan Experiment: If using a fan, turn it on to create airflow over the surface of the water. Observe whether the moving air affects the floating or sinking behavior of the objects. Discuss any differences observed when the fan is on compared to when it is off. Discussion and Conclusion: After testing several objects, gather the children to discuss their findings. Ask questions such as: "Which objects floated?" "Which objects sank?" "Were your predictions correct? If not, why do you think that happened?" Explain concepts of buoyancy and how objects with different densities interact with water. Conclude by summarizing what the children learned about floating, sinking, and the properties of different objects. Density Exploration: Discuss how objects with different densities (heavier vs. lighter) interact with water and why some float while others sink. Shape and Size: Test objects of different shapes and sizes to see if these factors affect their floating or sinking behavior. Temperature Effects: Explore whether water temperature affects the buoyancy of objects by conducting the experiment with warm or cold water.
Fizzing Dino Eggs
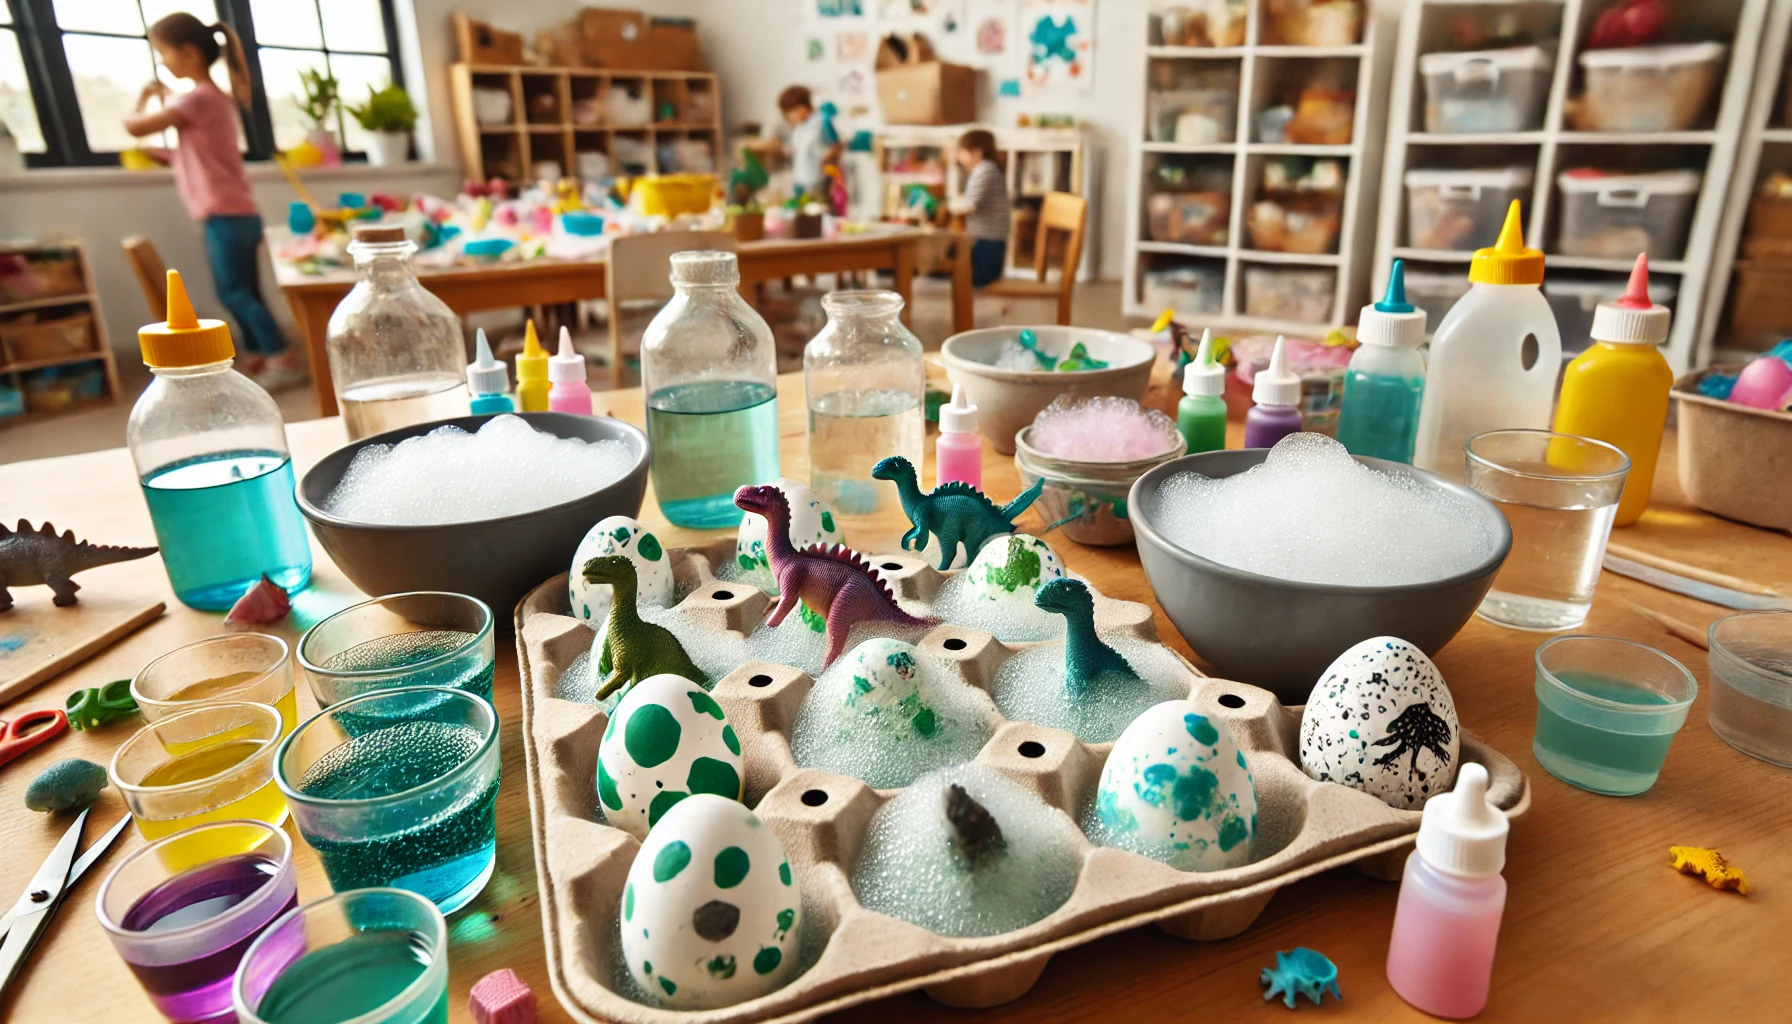
Materials:
- Baking soda
- Water
- Food coloring (optional, for coloring the eggs)
- Small plastic dinosaurs
- Vinegar
- Bowls or containers for mixing
- Protective coverings or trays (to contain the fizzing reaction)
Gather all materials: baking soda, water, food coloring (optional), small plastic dinosaurs, vinegar, bowls or containers for mixing, and protective coverings or trays for the activity area. Making the Fizzing Dino Eggs: In a bowl or container, mix baking soda with a small amount of water to form a paste-like consistency. Add a few drops of food coloring if desired to color the eggs. Take a small plastic dinosaur and press it into the baking soda paste, shaping the mixture around the dinosaur to form an egg shape. Place the eggs on a tray or in a protected area to dry and harden. Allow them to dry completely, which may take several hours or overnight. Starting the Activity: Gather the preschoolers for circle time or a designated activity time. Introduce the activity by explaining that they will be "hatching" dinosaurs from eggs through a fun and fizzy experiment. Fizzing Egg Experiment: Distribute the dried baking soda dinosaur eggs to each child or group of children. Provide small cups or containers of vinegar to the children. Instruct the children to pour vinegar over their dinosaur eggs and observe what happens. As the vinegar reacts with the baking soda, it will fizz and bubble, "hatching" the dinosaurs from the eggs. Exploration and Discussion: Encourage the children to explore the fizzing reaction and describe what they see and hear. Discuss concepts such as chemical reactions and what causes the fizzing. Ask questions to promote understanding, such as "Why do you think the eggs are fizzing?" or "What happens when you pour vinegar on the eggs". Conclusion: Allow the children to continue exploring and hatching their dinosaur eggs as long as they are engaged and interested. Clean up the activity area and discuss what the children learned from the experiment. Praise the children for their participation and curiosity in exploring science through hands-on activities. Sensory Additions: Include sensory elements like glitter or scented food coloring to enhance the sensory experience. Theme Extension: Incorporate a story or book about dinosaurs and eggs before or after the activity to connect the experiment to learning. Different Shapes: Experiment with different shapes or sizes of "eggs" using molds or containers for variety.
Airplane Aerodynamics
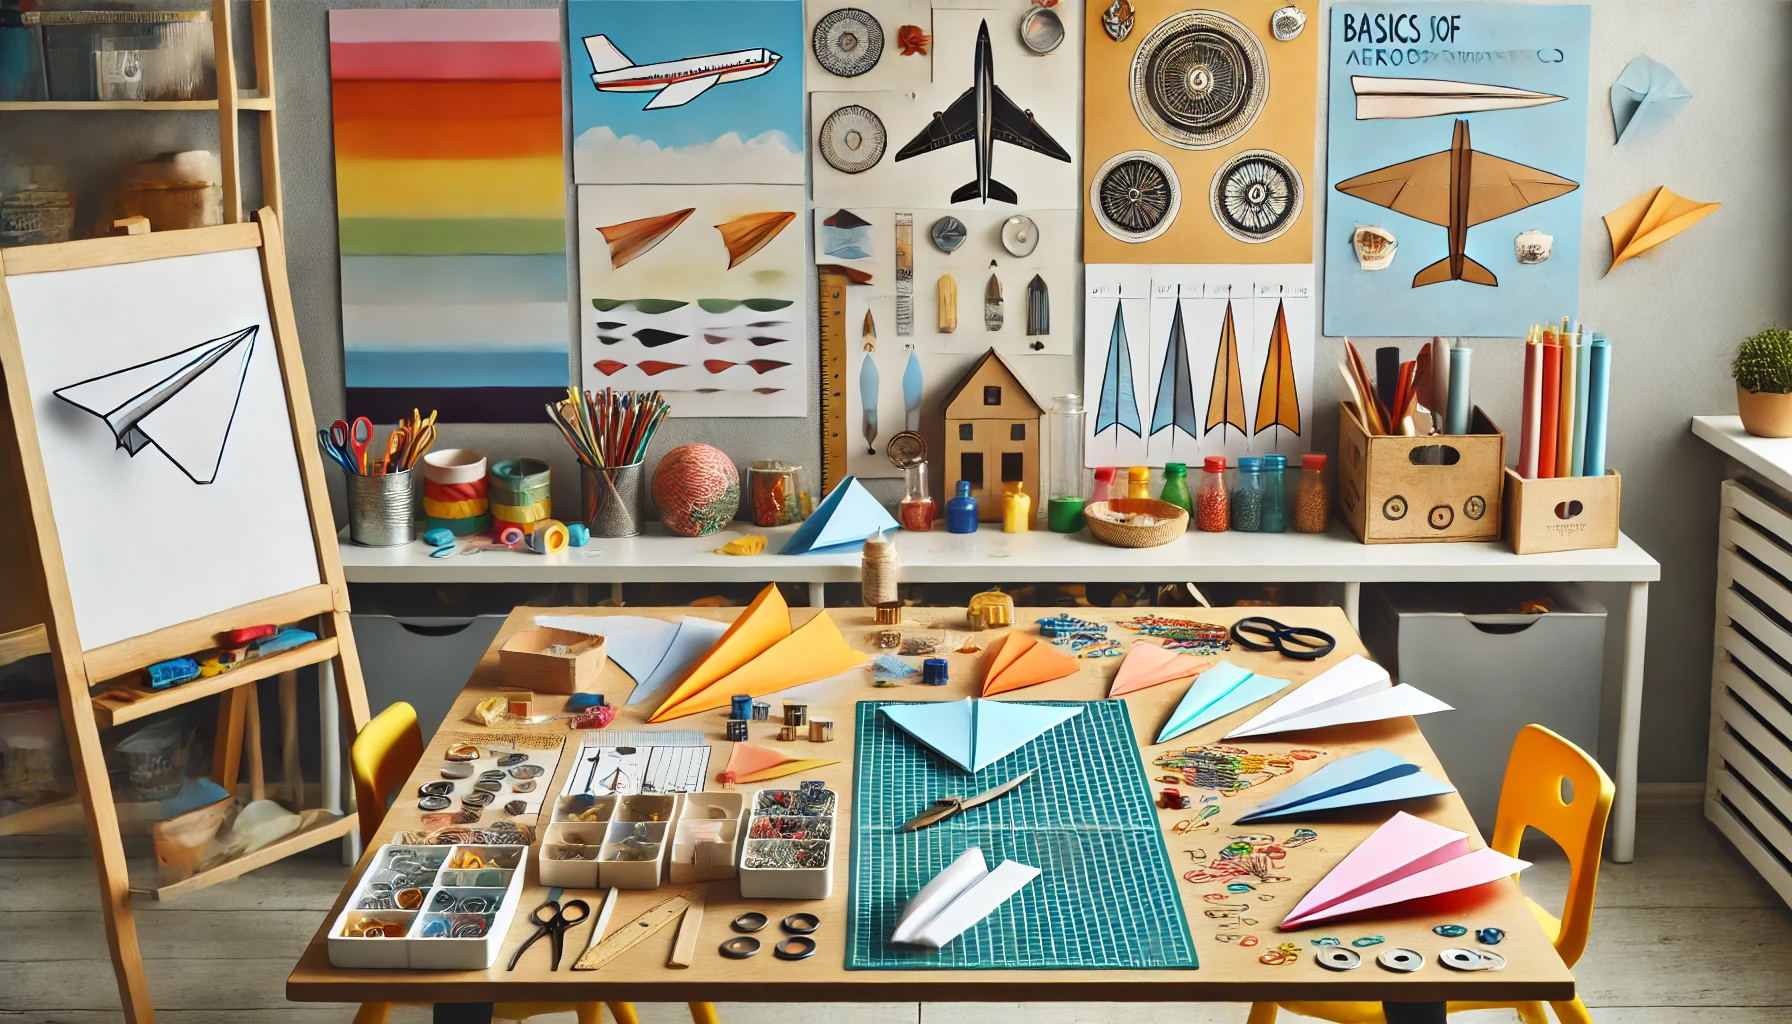
Materials:
- Different types of paper (regular paper, construction paper, origami paper, etc.)
- Paper clips
- Small weights (such as coins)
- Feathers (optional, for experimenting with lightweight materials)
- Scissors (for cutting paper, if needed)
- Rulers (for measuring and folding)
Preparation: Gather all materials: different types of paper, paper clips, small weights (coins), feathers (optional), scissors, and rulers. Set up a workspace where children can design, build, and test their paper airplanes. Designing Paper Airplanes: Introduce the activity by explaining the basics of aerodynamics and flight to the children. Show examples of different paper airplane designs (e.g., dart, glider, classic) and discuss how each design might affect flight characteristics (distance, speed, stability). Experimentation: Encourage children to hypothesize about which airplane designs they think will fly the farthest, highest, or straightest. Provide time for children to design and fold their own paper airplanes using the materials provided. Discuss adjustments they can make to their designs, such as adding paper clips for weight or folding different wing shapes (e.g., delta wings, straight wings). Testing and Observation: Once children have built their paper airplanes, designate a safe area for testing (e.g., a clear space indoors or outdoors). Have children take turns launching their airplanes and observe how each design performs in flight. Measure and record flight distances or heights for each airplane design to compare results. Discussion and Conclusion: Gather the children to discuss their observations and findings. Ask questions such as: "Which airplane design flew the farthest?" "What changes did you make to improve your airplane's flight?" "How did adding weights or changing wing shapes affect the flight". Extensions: Challenge children to refine their designs based on their observations and conduct additional tests to see if they can improve flight performance. Explore the concept of balance and stability in flight by experimenting with the placement of weights or adjusting wing angles.
Flight Navigation
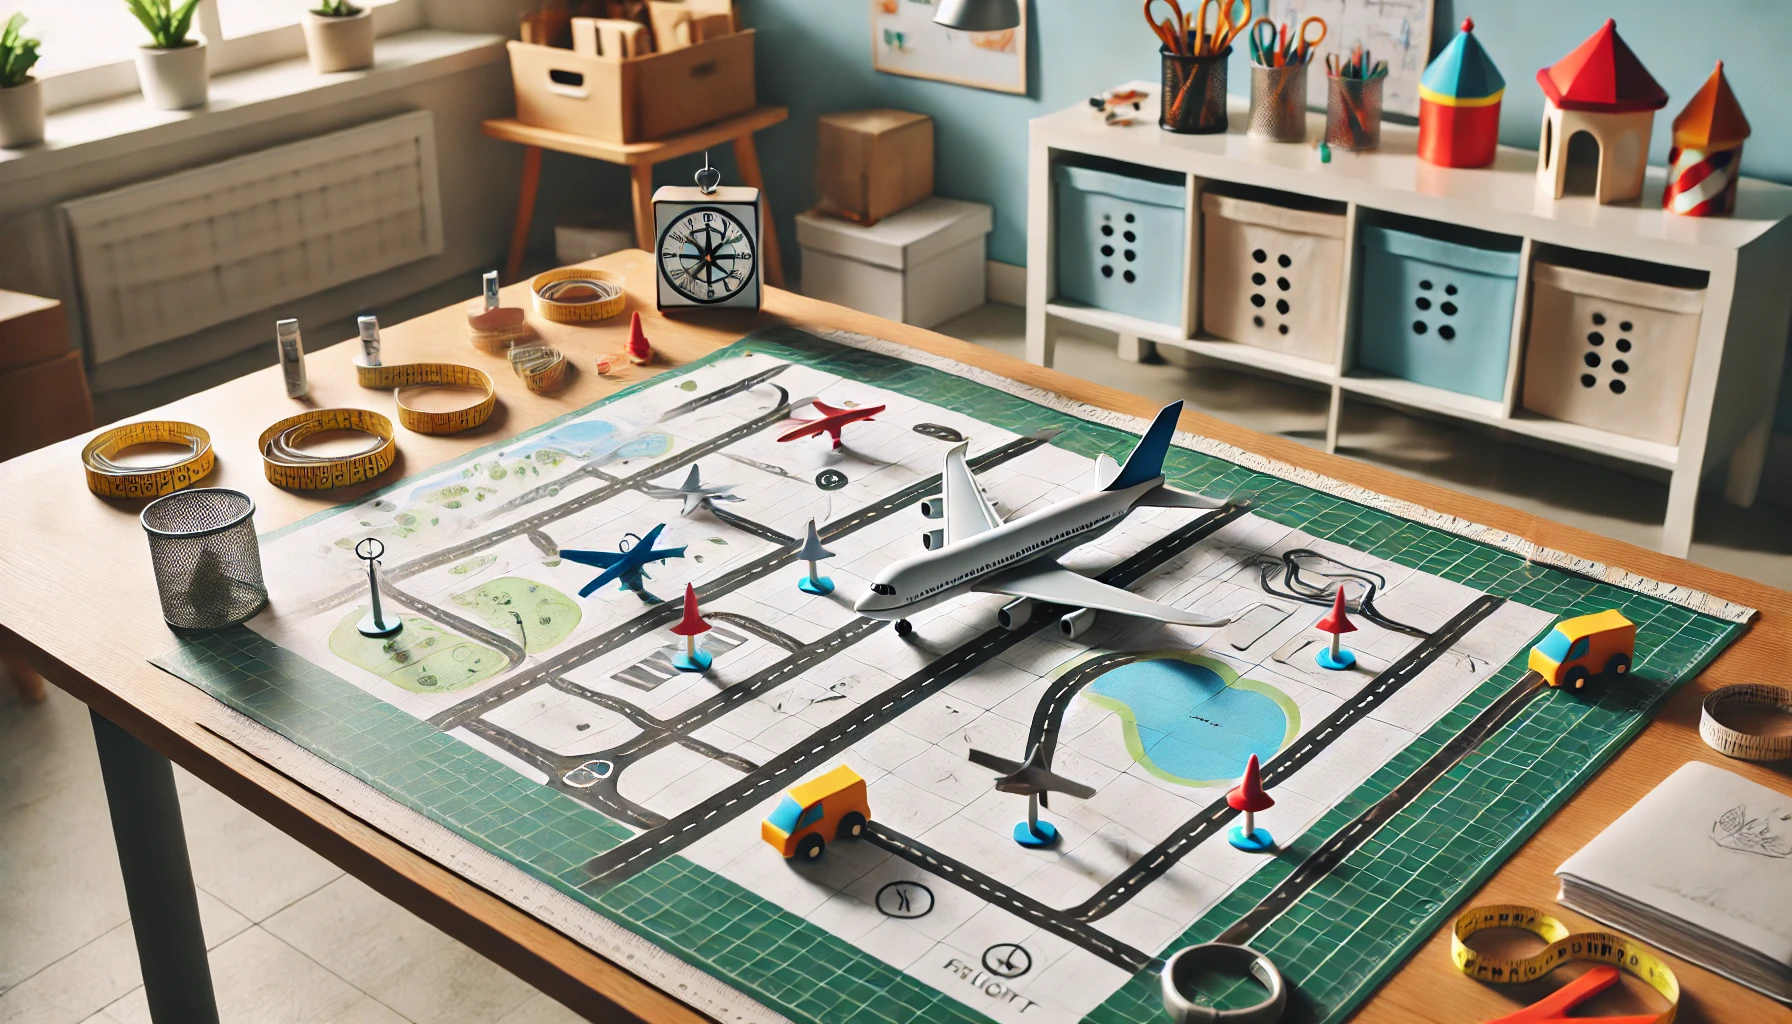
Materials:
- Map or grid paper
- Measuring items (e.g., rulers, measuring tape)
- Toy planes or markers (to represent flights)
- Optional: Compass (for discussing direction and orientation)
Gather all materials: map or grid paper, measuring items (rulers, measuring tape), toy planes or markers, and optional compass. Set up a clear workspace where students can work with the map and place markers for landmarks or airports. Introduction to Flight Navigation: Begin by discussing the concept of flight navigation with the students. Explain how pilots use maps and navigation tools to plan and follow flight paths to reach their destinations. Show examples of different types of maps used in aviation (e.g., sectional charts, airport diagrams) and discuss the importance of landmarks, airports, and distances in navigation. Setting Up the Exercise: Use the map or grid paper to create a simplified navigation exercise. Draw or mark landmarks, airports, or destinations on the map. Explain to students that they will use toy planes or markers to represent flights traveling between these points. Navigating Flight Paths: Demonstrate how to measure distances on the map using rulers or measuring tape. Assign or allow students to choose flights between different points on the map. Have students measure and record the distances between landmarks or airports using the measuring items. Discussion and Exploration: Encourage students to discuss their chosen flight paths and how they would navigate from one point to another. Use the optional compass to discuss direction and orientation in relation to flight paths. Conclusion: Gather students to share their navigation exercises and discuss what they learned about flight navigation, distances, and planning flight paths. Recap the importance of maps, landmarks, and measuring distances in aviation and how pilots use these tools to ensure safe and efficient travel. Weather Conditions: Discuss how weather conditions can affect flight navigation and planning. Flight Planning Tools: Introduce students to digital flight planning tools or apps used by pilots to plan flights. Role Play: Have students role-play as pilots and air traffic controllers, communicating flight plans and navigating through a simulated airspace.
Sound and Vibration
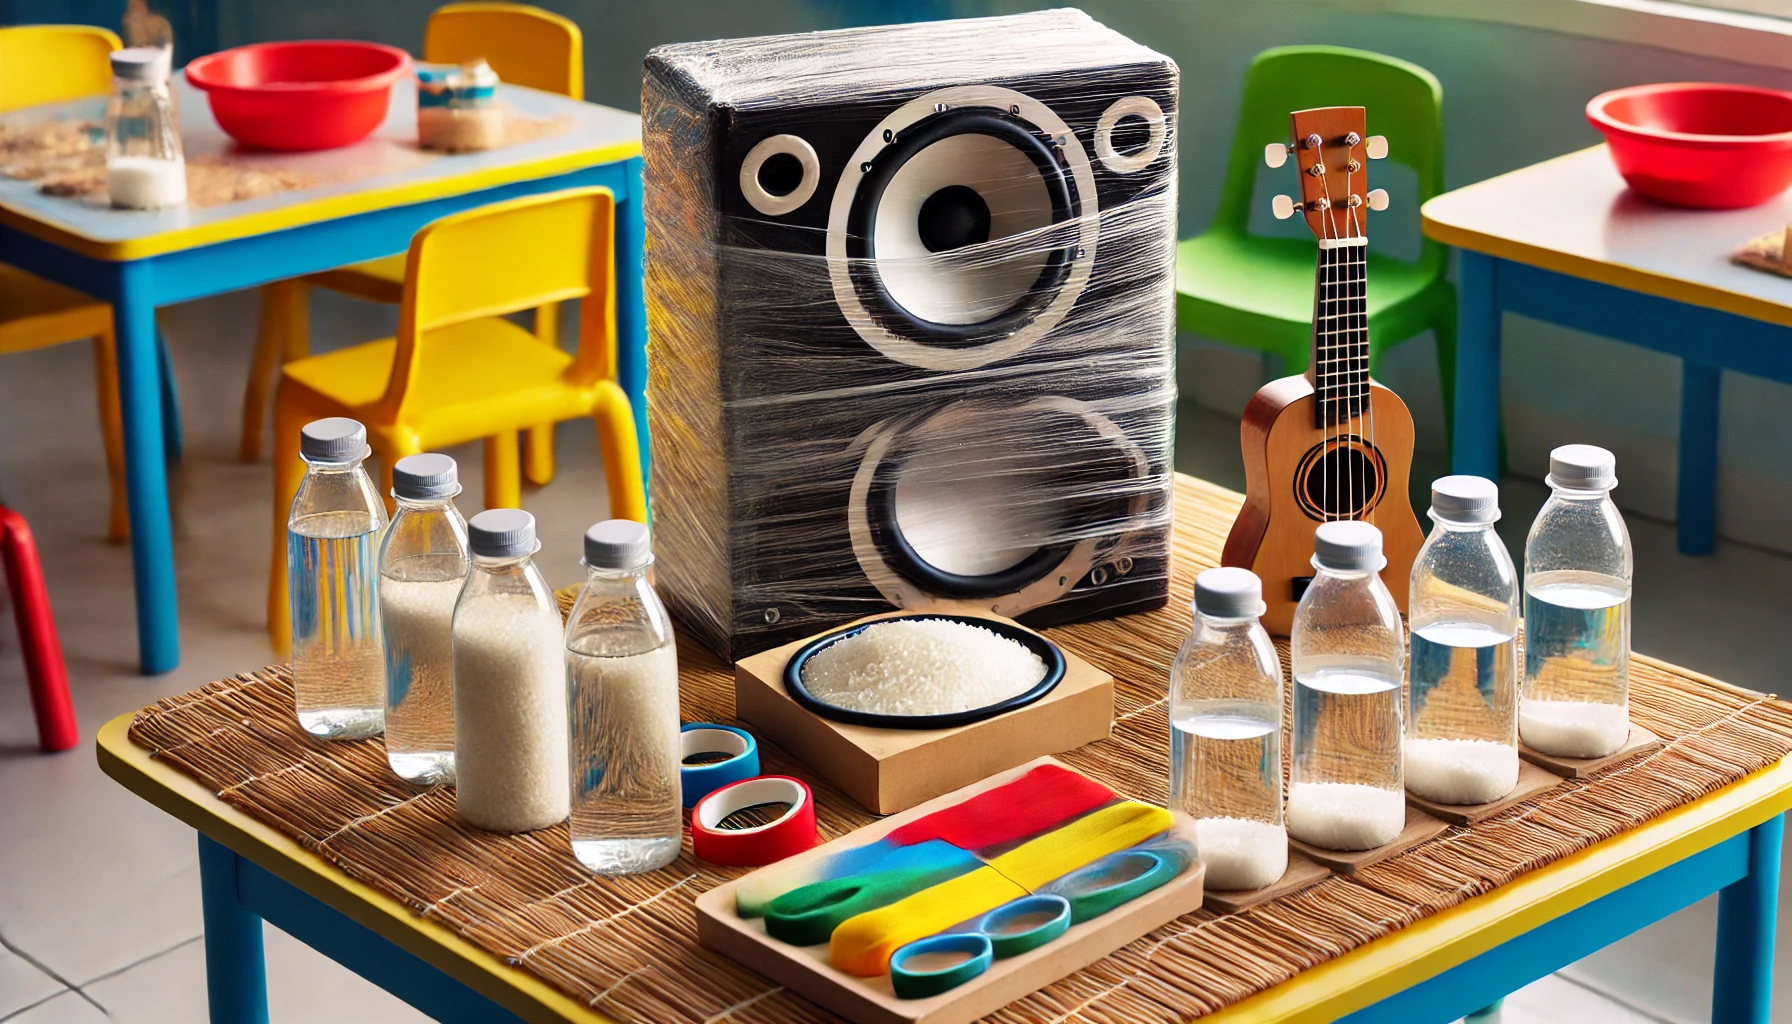
Materials:
- Speaker
- Plastic wrap
- Rice
- Empty tissue box
- Rubber bands (of different thicknesses)
- Empty glass bottles
- Water
Preparation: Cover the speaker with plastic wrap and secure it with a rubber band to create a tight seal. Place the speaker on a stable surface and sprinkle a layer of rice on top of the plastic wrap. Demonstration: Play music or sounds through the speaker at varying volumes. Observe how the rice moves and vibrates in response to the sound waves produced by the speaker. Discuss with the children how sound waves cause vibrations that can be felt and seen in materials like rice. Rubber Band Guitar: Stretch rubber bands of different thicknesses around the empty tissue box. Ensure they are secured tightly and evenly spaced. Exploration: Pluck each rubber band to produce different sounds. Encourage children to listen carefully and compare the sounds produced by rubber bands of varying thicknesses. Discuss how the vibrations of the rubber bands create different pitches and tones. Activity 3: Bottle Blowing Fill each glass bottle with varying amounts of water. You can label the bottles with the amount of water inside each one. Experimentation: Demonstrate how blowing across the top of each bottle produces a sound. Have children experiment with blowing across the bottles and observe the different pitches created. Discuss how the amount of water in the bottles affects the pitch of the sound produced. More water typically lowers the pitch, while less water raises it. Conclusion: Gather the children to discuss what they learned about sound waves, vibrations, and how different materials and actions affect the sounds produced. Encourage them to think about how these concepts apply to everyday situations and objects. Frequency Exploration: Use a tuning fork or another sound-producing object to demonstrate sound frequency and vibrations. Sound Patterns: Create patterns or rhythms using the rubber band guitar or bottle blowing, encouraging children to mimic and create their own sequences. Sound Wave Visualization: Use visual aids or apps to demonstrate sound wave patterns and frequencies in a visual format.
Shadow Play
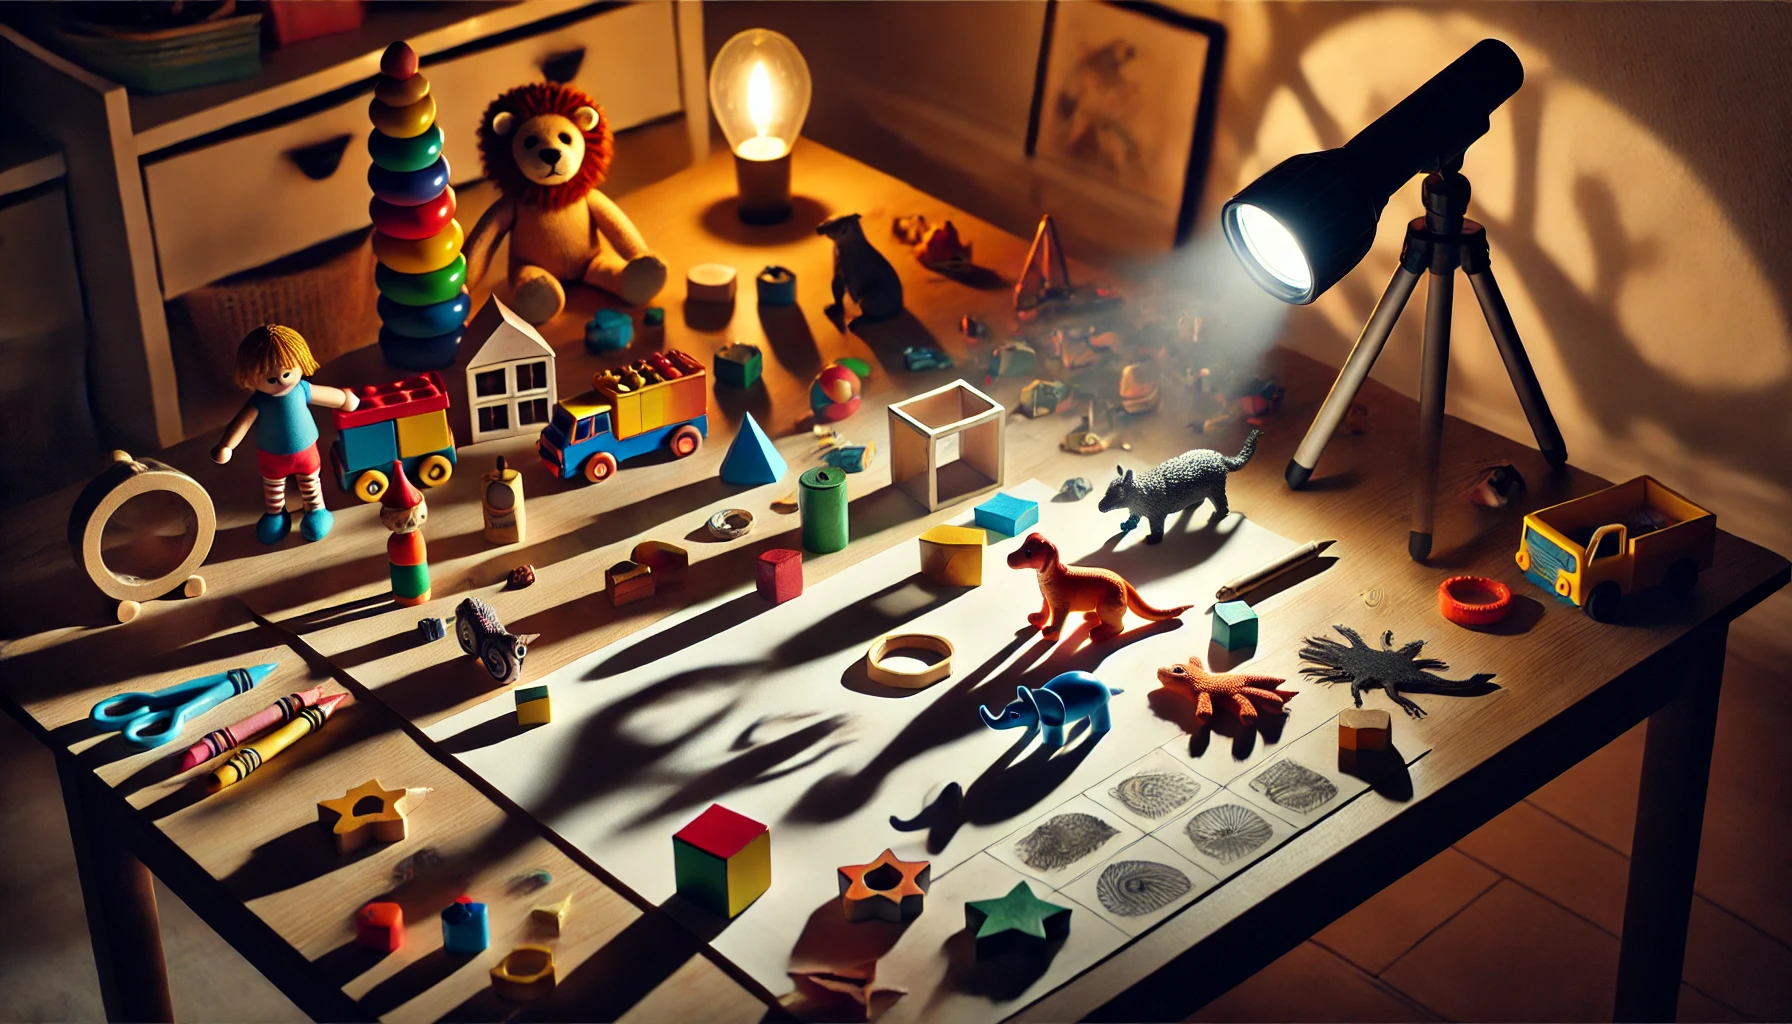
Materials:
- Flashlight or projector light
- Various objects (toys, shapes, figurines, etc.)
Setup: Set up a flashlight or projector light in a darkened room or area where shadows will be clearly visible. Arrange various objects with different shapes and sizes nearby. These can include toys, blocks, figurines, or any objects with distinct shapes. Introduction: Gather the children and introduce the concept of shadows. Explain that shadows are formed when an object blocks light from a light source. Show examples of how shadows appear differently depending on the shape and position of objects relative to the light source. Exploration: Encourage children to pick up different objects and place them between the light source and a flat surface (such as a wall or floor). Have them observe how the shape of the object affects the shape and size of the shadow cast. Experiment with moving the objects closer to or farther away from the light source. Ask children to describe and predict how the shadows will change as they move the objects. Ask questions such as: "What happens to the shadow when you move the object closer to the light?" "How does the shape of the object affect the shape of the shadow?" "Why do you think the size of the shadow changes when you move the object". Shadow Puppets: Invite children to use their hands or cut-out shapes to create shadow puppets on the wall or floor. Exploring Light Sources: Use different light sources (e.g., flashlights with different intensities, colored lights) to see how they affect shadow formation. Recording Observations: Provide paper and crayons for children to trace and draw the shapes of shadows they observe. Conclusion: Summarize what the children have learned about shadows and how they are affected by light and object placement. Encourage them to continue exploring shadows in different environments or using different materials at home. Storytelling with Shadows: Create stories or scenes using objects and their shadows to engage children in imaginative play. Shape Recognition: Challenge children to identify and name the shapes of shadows cast by different objects. Shadow Art: Use colored filters or transparent materials to create colorful shadow displays.
Mirror Reflections
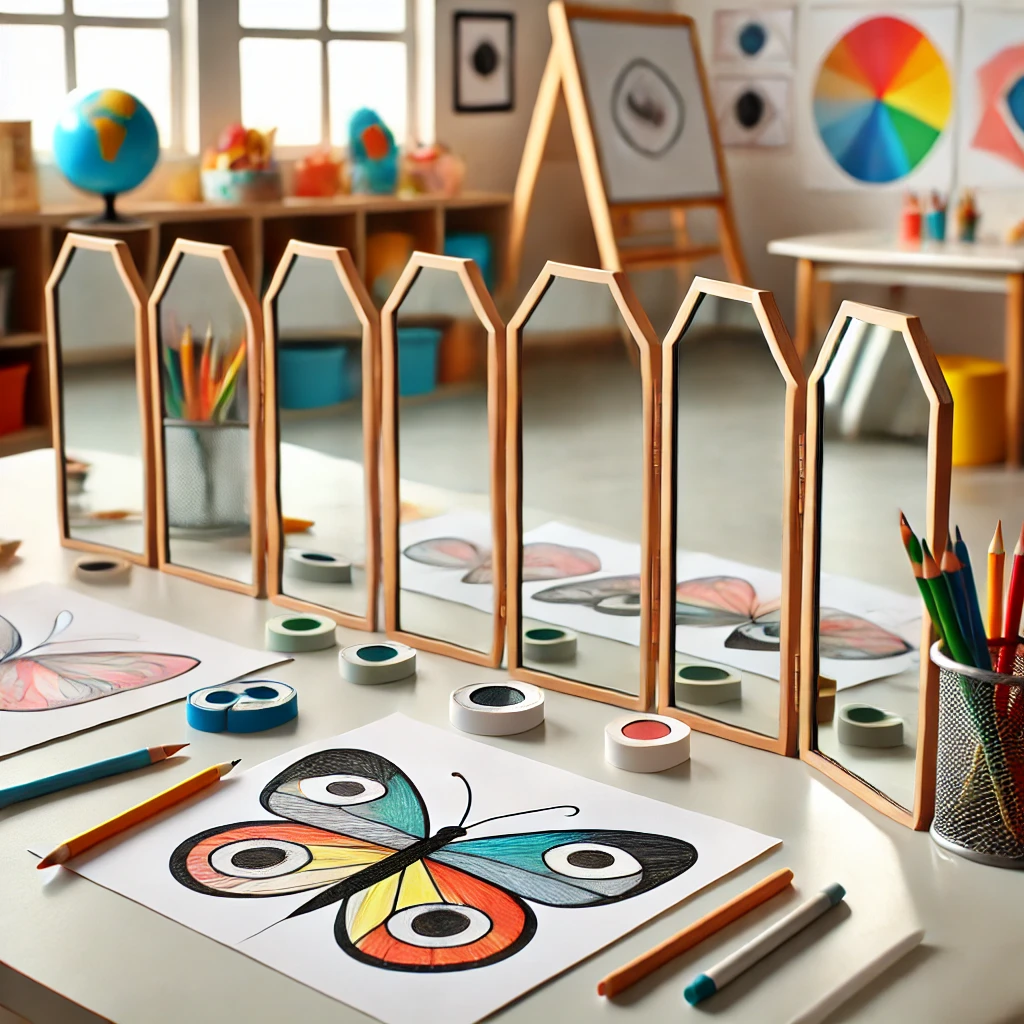
Materials:
- Mirror (mirrors of different shapes and sizes if available)
- Paper
- Markers or pencils
Setup: Place mirrors and paper on a table or workstation where children can easily access them. Ensure there is ample space for children to move the mirrors around and observe their reflections. Exploring Reflections: Begin by discussing the concept of reflection with the children. Explain that a reflection is an image produced by the bouncing of light off a surface (in this case, a mirror). Encourage children to experiment with different mirrors. Have them hold mirrors at various angles and distances to see how it affects their reflection. Discuss with children what they observe: How does the size or shape of the mirror change their reflection? Can they make their reflection appear larger or smaller? Introducing Symmetry: Explain the concept of symmetry by showing examples of symmetry in nature and art (e.g., butterflies, flowers). Demonstrate how to create a symmetrical drawing by folding a piece of paper in half vertically and drawing half of a face (or any object) along the fold. Ask children to unfold the paper to reveal the complete picture, showing how the drawing is mirrored on either side of the fold. Creative Drawing Activity: Provide children with paper and markers or pencils. Have them fold a piece of paper in half vertically to create a symmetrical template. Instruct children to draw half of their face (or any object they like) along the fold. After completing the drawing, unfold the paper to reveal the complete symmetrical picture. Discussion and Exploration: Facilitate a discussion about symmetry and reflections. Ask questions such as: "What did you notice about your reflection in different mirrors?" "How did folding the paper help you create a symmetrical drawing?" "Can you find examples of symmetry in everyday objects or nature". Conclusion: Summarize what the children have learned about reflections and symmetry. Encourage them to continue exploring reflections and symmetry at home, using mirrors and everyday objects. Mirror Maze: Create a simple obstacle course or maze using mirrors for children to navigate through while observing their reflections. Symmetrical Art: Challenge children to create symmetrical artwork using different drawing materials or by experimenting with digital symmetry tools. Mirror Games: Play games like mimicking each other's movements using reflections in mirrors.
Seasonal Color Mixing
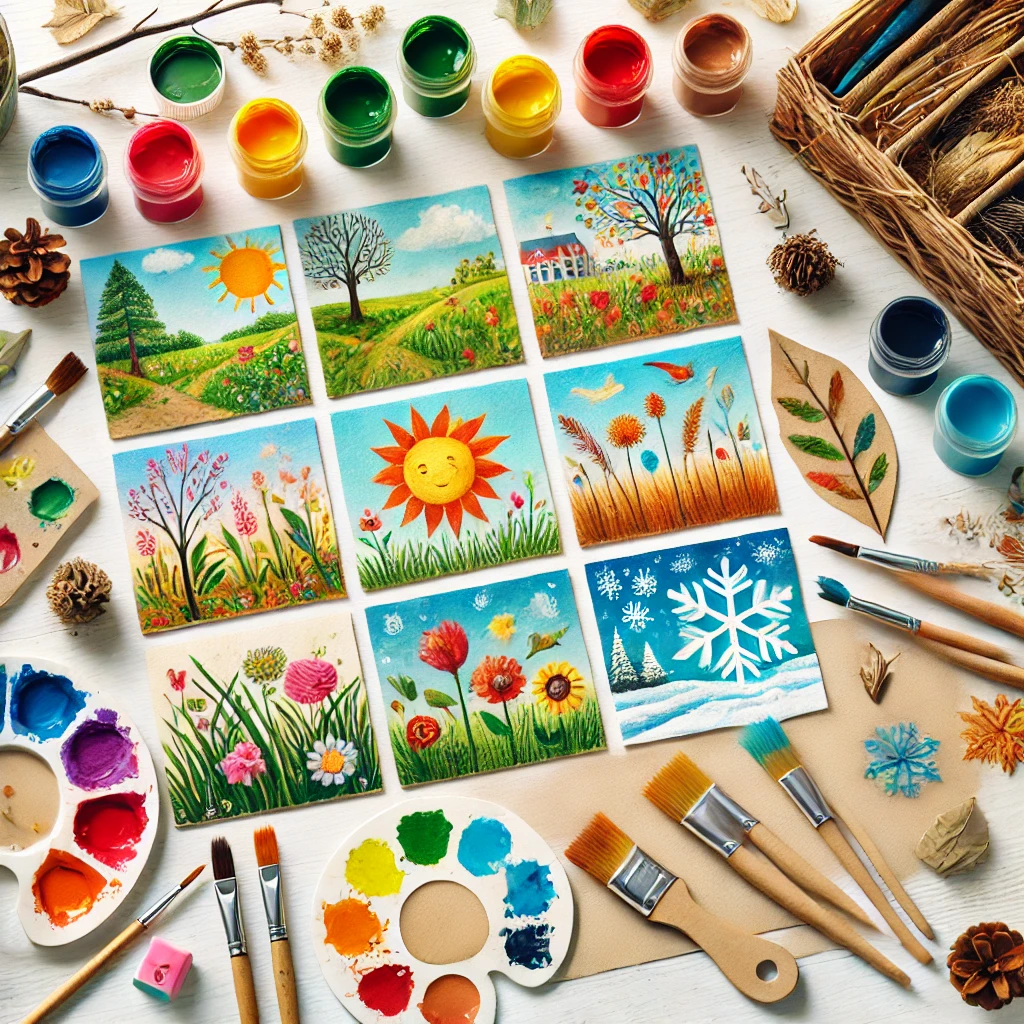
Materials:
- Paints: Red, blue, yellow, Orange, green, purple
- A plate, bowl, or palette for mixing paints
- Small brushes or sticks for mixing
- Paper or Canvas
- Optional: Leaves, pinecones, flowers, pictures representing different seasons
Begin by introducing the three primary colors: red, blue, and yellow. Explain that these colors cannot be created by mixing other colors. Demonstrate how to mix two primary colors to create secondary colors: Red + Yellow = Orange, Yellow + Blue = Green, and Blue + Red = Purple. Show the students how to practice mixing these colors on their palette and applying them to paper or canvas. Color Associations with Seasons. Spring: Green (new leaves), pink, and pastel colors (flowers). Summer: Bright yellow (sun), blue (sky and water), green (lush grass). Autumn/Fall: Orange, red, and yellow (falling leaves). Winter: White (snow), blue (cold), red and green (Christmas). Provide examples or show items representing each season (leaves, pinecones, flowers) to help children visualize these color associations. Creating Seasonal Art: Encourage children to create a painting or drawing representing a particular season using the colors they’ve mixed. For example, they could paint a spring scene with green grass and colorful flowers, or an autumn scene with orange and red leaves. Discussion and Reflection: After the children have finished their artwork, gather them for a discussion about the colors they used and why they chose them for their particular season. Ask questions such as: "Why did you choose these colors for your summer picture?" "How do these colors make you feel about that season?" "What other colors do you associate with winter?" Encourage children to share their thoughts and feelings about the seasons represented in their artwork. Seasonal Collage: Instead of painting, create a seasonal collage using colored paper and other materials. Group Project: Have children work in pairs or groups to create collaborative seasonal artworks, discussing and combining their ideas about color associations. Outdoor Exploration: Take children on a nature walk to collect seasonal items like leaves or flowers, then use these as inspiration for their artwork.
Counting Seconds
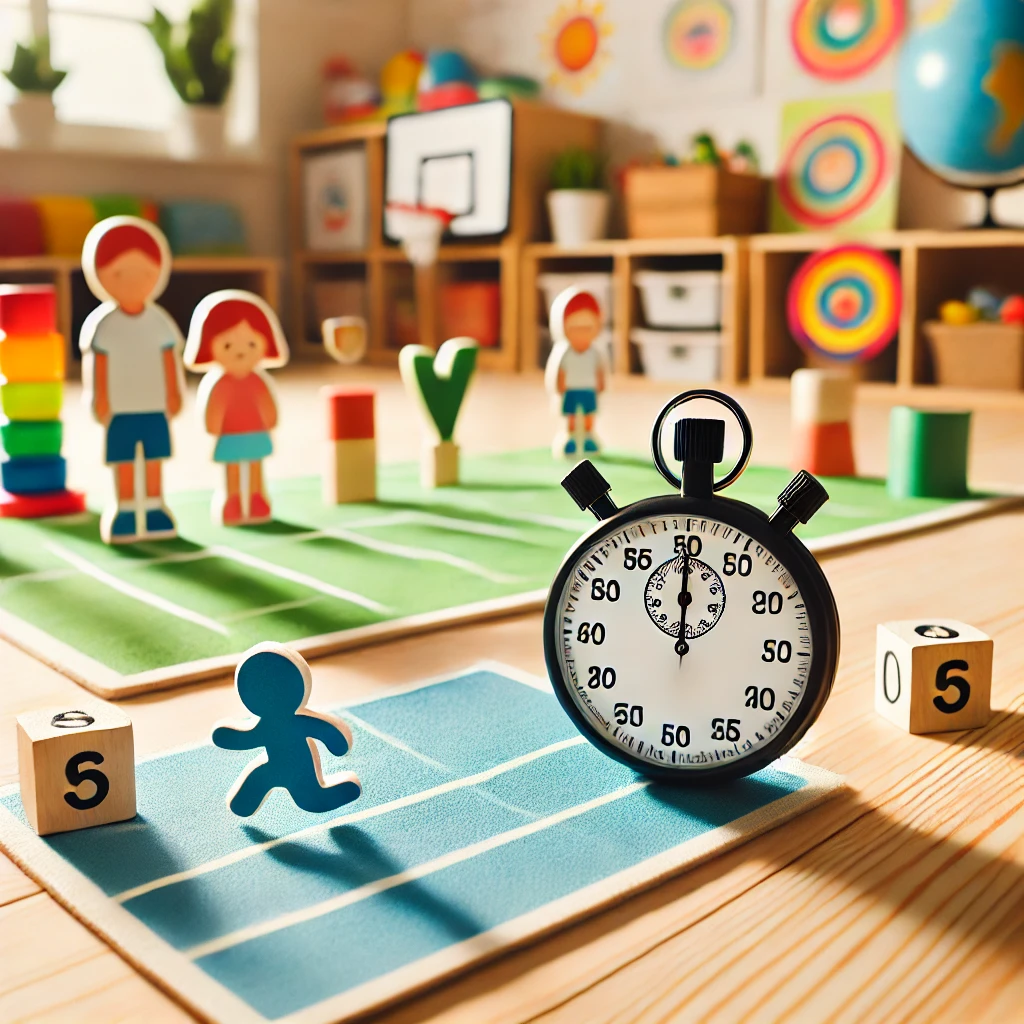
Materials:
- Stopwatch or timer
- Space for physical activities
- List of physical activities (e.g., jumping, clapping, hopping)
Preparation: Set up a space where children can safely engage in physical activities like jumping, clapping, and hopping. Have a stopwatch or timer ready to measure seconds. Conducting the Experiment: Choose one physical activity to start with, such as jumping. Set the stopwatch or timer for a specific number of seconds (e.g., 10 seconds). Begin counting seconds aloud as you start the timer, encouraging the children to count along with you. Have the children perform the chosen activity (e.g., jumping) for the duration of the timer. Count how many times each child completes the activity within the given time. Recording and Comparing Results: Record the number of times each child completed the activity within the set time (e.g., 10 seconds). Repeat the process with other activities like clapping and hopping, using the same timer setting. Compare the results to see which activities can be completed more frequently or less frequently within the same time frame. Ask questions such as: "Which activity did you complete the most times in 10 seconds?" "Was there an activity that was harder to keep up with counting?" "Did counting aloud help you keep track of time and pace your activity?" Discuss observations about different speeds and intensities of activities and how they affect the number of repetitions within a given time. Time Challenges: Set different time intervals (e.g., 5 seconds, 15 seconds) and repeat the activities to explore how speed changes with shorter or longer durations. Group Comparisons: Divide children into groups and have them compete in completing activities within the same time frame, fostering a friendly competition. Skill Development: Incorporate activities that target specific skills (e.g., balance exercises, hand-eye coordination tasks) to explore how different abilities affect performance in timed activities.
[value-2]
Materials:
- [value-5]
[value-3]
[value-2]
Materials:
- [value-5]
[value-3]
[value-2]
Materials:
- [value-5]
[value-3]