Arts & Crafts
Life-sized Self-portraits
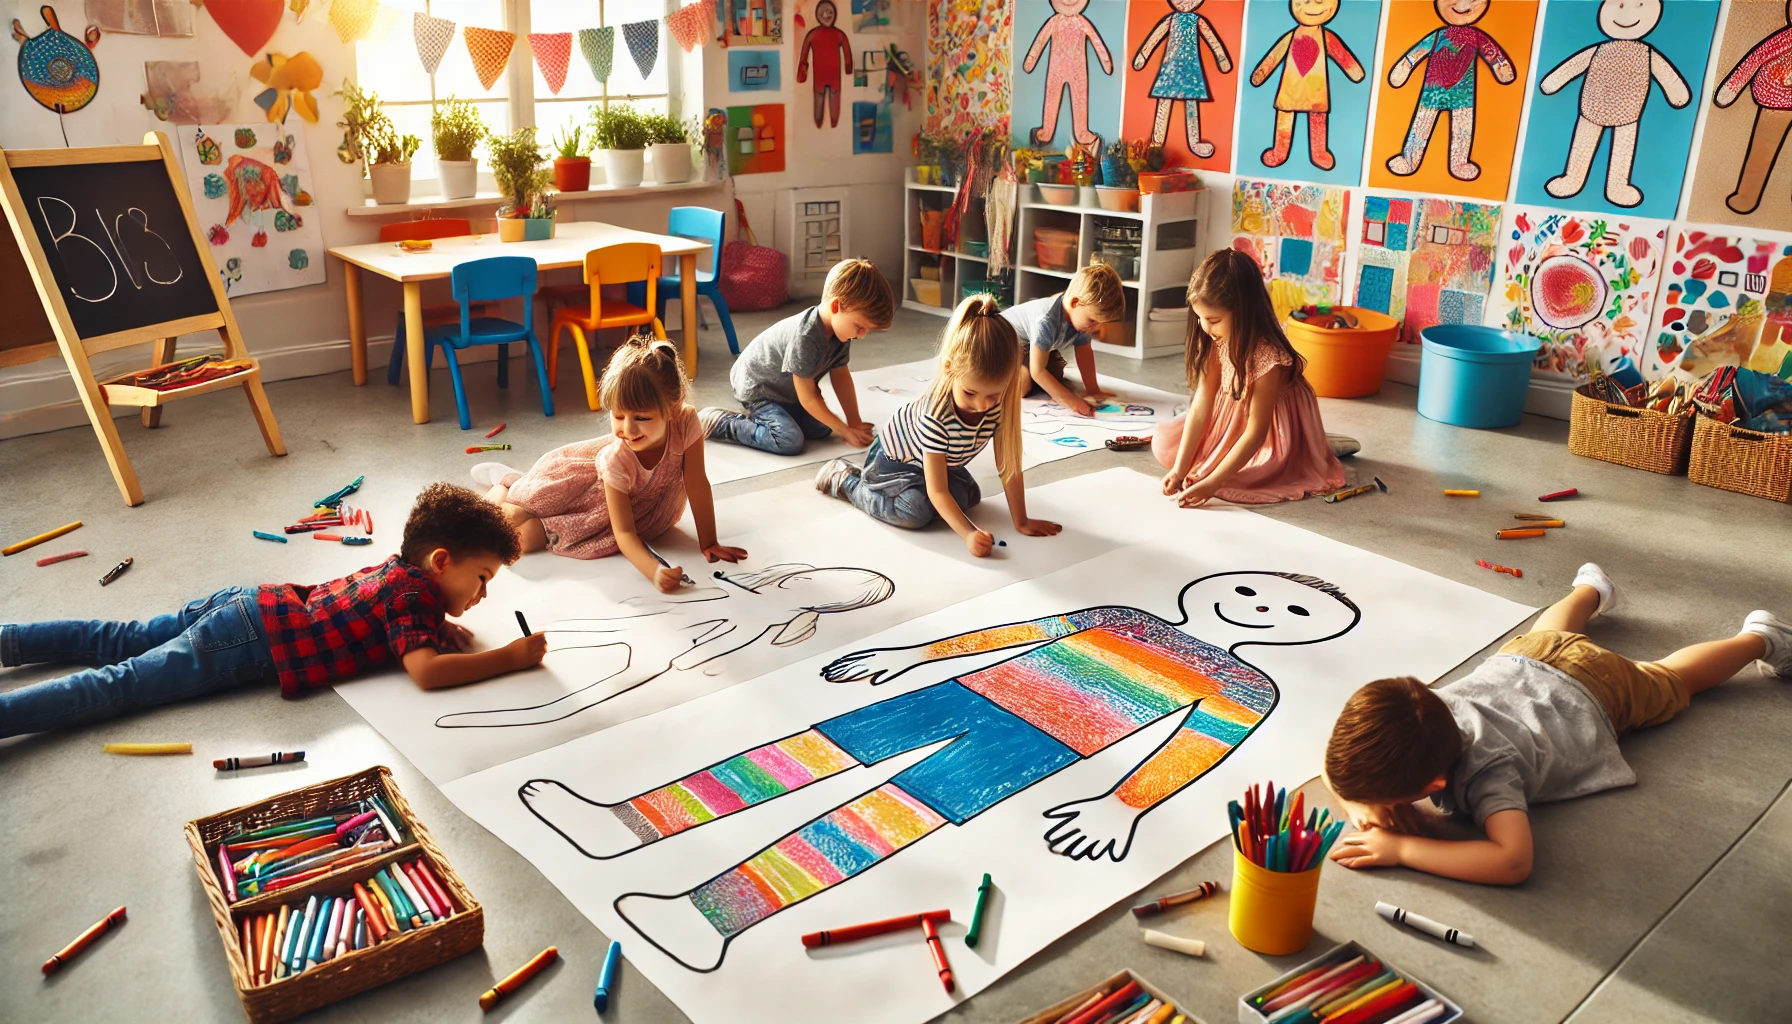
Materials:
- Large sheets of paper
- Scissors
- Crayons or markers
Preparation: Prepare large sheets of paper or cardboard for each child. Ensure there is enough space for them to lie down comfortably. Creating the Outline: Have each child lie down on their sheet of paper or cardboard. Invite a friend or a partner to gently trace the outline of the child's body using a pencil or marker. Encourage the tracer to carefully outline the head, arms, torso, and legs. Decorating the Self-portraits: Once the outline is complete, have the child sit up or stand next to their traced outline. Provide crayons or markers for the children to decorate their life-sized self-portraits. They can add facial features, hair, clothes, accessories, and any other details that represent themselves. Encourage creativity and self-expression in how they choose to decorate their portraits. Discussion and Reflection: After decorating, gather the children to discuss their self-portraits. Ask questions such as: "What did you enjoy most about creating your life-sized self-portrait?" "What details did you include that make this portrait uniquely yours?" "How do you feel seeing yourself in this larger-than-life representation?" Encourage children to share their thoughts and interpretations of their self-portraits with their peers. Collaborative Portraits: Pair children up to trace each other's outlines, fostering teamwork and cooperation. Theme-based Portraits: Create self-portraits that reflect a specific theme or mood, such as happy, sad, or silly. Mixed Media: Use a variety of art materials like fabric scraps, yarn, or collage materials to add texture and depth to the self-portraits.
Sponge Painting Seaweed
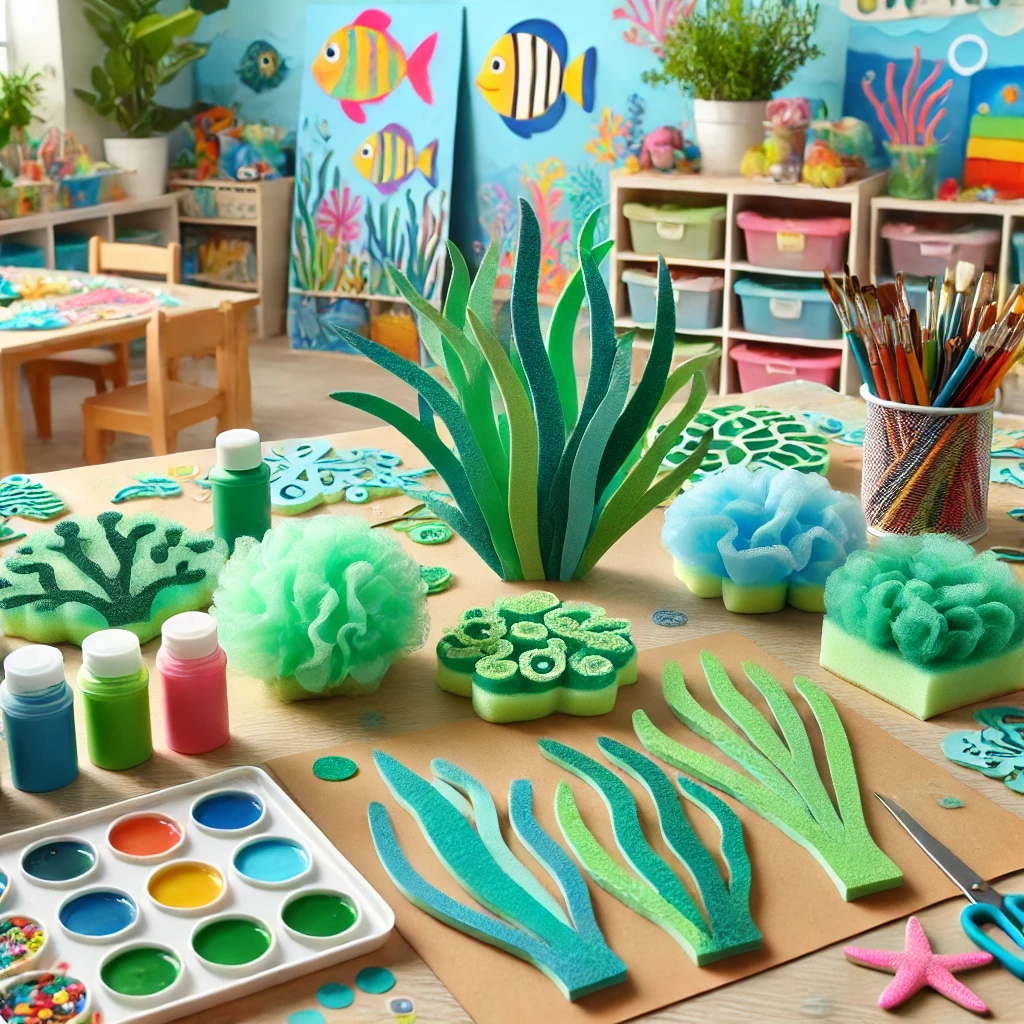
Materials:
- Sponges
- Paint
- Paper
- Decorations
Preparation: Cut natural sponges into seaweed-like shapes. You can also use kitchen sponges or craft sponges and cut them into various leafy shapes resembling seaweed. Painting Seaweed: Provide each child with a piece of paper and a variety of green paints. Optionally, you can include other seaweed colors like brown or red. Demonstrate how to dip the sponge into the paint, ensuring it is evenly coated but not dripping. Show children how to stamp the painted sponge onto the paper to create textured seaweed shapes. Encourage them to overlap the shapes to create depth and variety. Adding Details: Once the seaweed shapes are stamped and dried, invite children to add details to their paintings. They can use markers to draw fish, sea creatures, bubbles, or underwater scenes around the seaweed. Alternatively, provide stickers or other small embellishments for children to further decorate their artwork. Discussion and Exploration: Engage children in a discussion about seaweed and its importance in the ocean ecosystem. Talk about different types of seaweed and their colors. Ask questions like: "What did you enjoy most about painting seaweed?" "Can you describe the creatures or scenes you added to your painting?" "How does your painting represent an underwater environment". Display and Reflection: Display the completed artworks in the classroom or at home to showcase each child's creativity. Encourage children to reflect on their artwork and share what they learned about seaweed and underwater habitats through this activity. Texture Exploration: Use different types of sponges or materials (e.g., bubble wrap, textured fabric) to create varied textures for underwater scenes. Seasonal Themes: Create underwater scenes that reflect different seasons or specific ocean locations (coral reefs, kelp forests). Collaborative Art: Work together on a large piece of paper or mural to create a collective underwater world, incorporating ideas and contributions from all children.
Clay Footprint Impressions
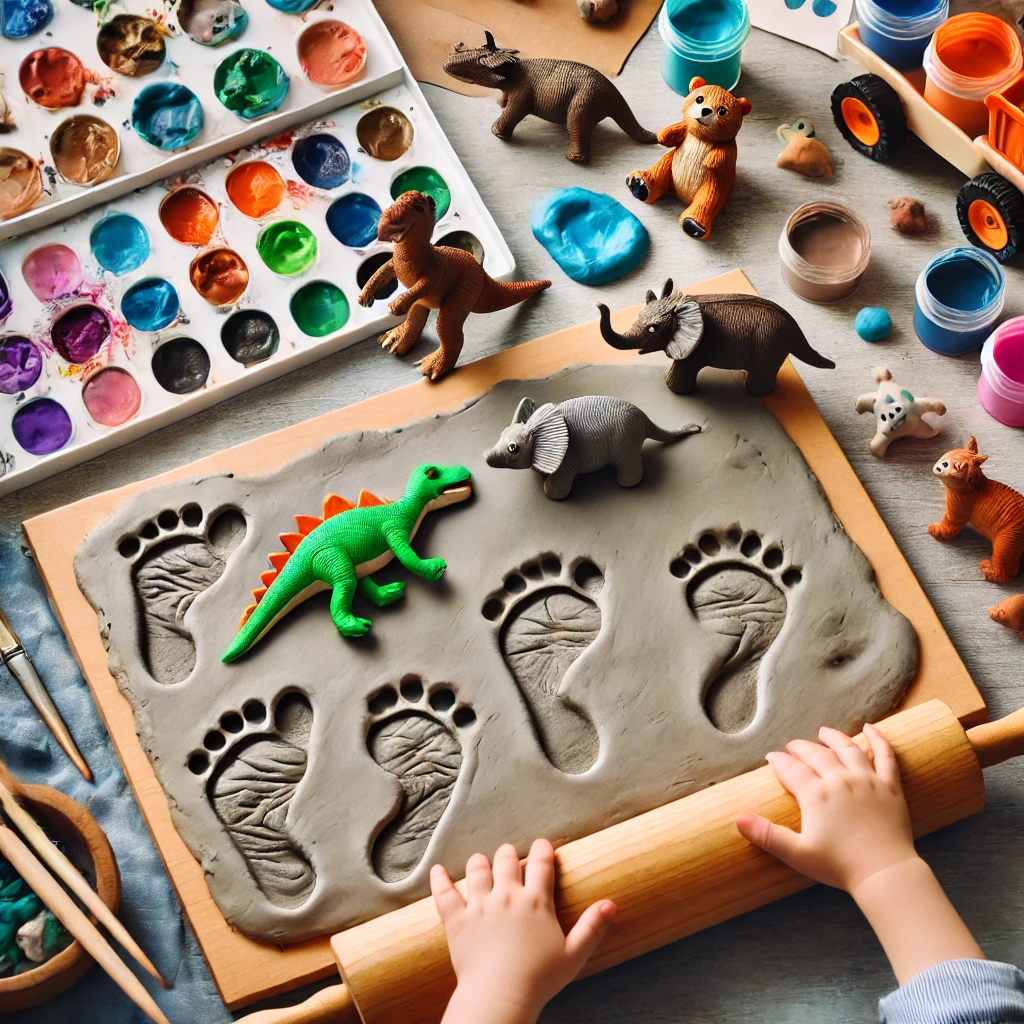
Materials:
- Clay or playdough (air-dry clay recommended)
- Toy animals with distinct feet
- Rolling pin or flat surface for rolling out clay
- Optional: Paints and brushes
Preparing the Clay: Provide each child with a lump of air-dry clay or playdough. Demonstrate how to use a rolling pin or hands to flatten the clay into a smooth sheet, about 1/4 inch thick. Creating Footprint Impressions: Invite children to select toy animals with distinct feet (such as dinosaurs, farm animals, or wild animals). Show them how to press the feet of the toy animals firmly into the clay to create footprint impressions. Encourage them to press gently but firmly to ensure clear imprints. Drying the Impressions: Allow the clay to air dry completely according to the manufacturer's instructions. This usually takes 24-48 hours depending on the clay type and thickness. Optional Painting: Once the clay footprints are dry, children can use paints and brushes to highlight the footprints. They can paint the clay in natural colors or use their imagination to create colorful designs around the footprints. Discussion and Display: Display the dried clay footprint impressions in the classroom or at home. Gather children to talk about the animals that made the footprints. Discuss the size, shape, and unique features of each footprint. Encourage children to share what they learned about animal footprints through this activity. Seasonal Themes: Create footprint impressions of animals that are relevant to different seasons or habitats. Footprint Matching Game: Make duplicate clay footprints and challenge children to match the footprint impressions with the corresponding toy animals. Outdoor Exploration: Take children on a nature walk to look for real animal footprints, then compare them with the clay impressions they created.
Hibernation Diorama
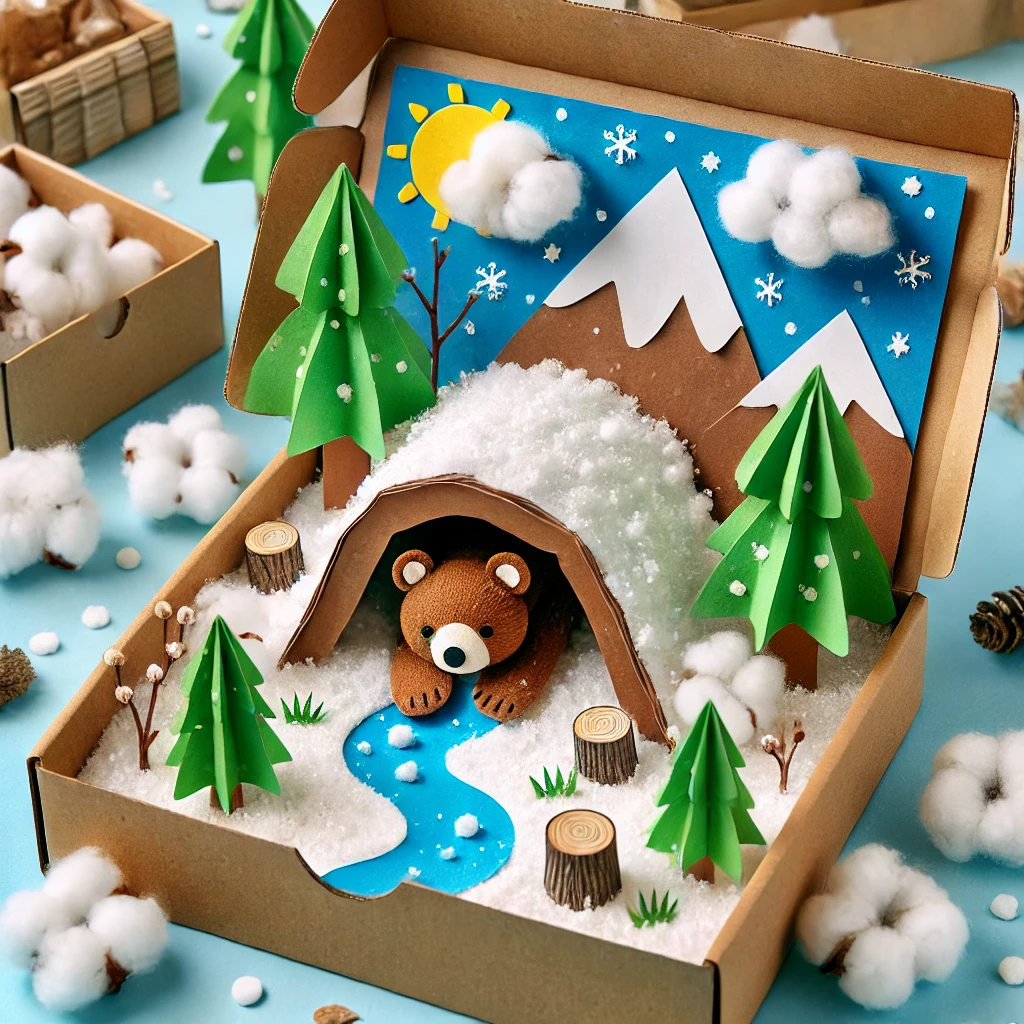
Materials:
- Download materials here
- Shoebox (for each child)
- Cotton balls (for snow)
- Construction paper (various colors for landscape and shelter)
- Scissors
- Glue or tape
Preparing the Shoebox: Provide each child with a shoebox to serve as the base for their diorama. Optionally, download and print materials such as backgrounds or images of hibernating animals from the provided link. Creating the Winter Habitat: Cut the construction paper to create the background and landscape inside the shoebox. For example, blue paper can represent the sky, white for snowy ground, and brown or green for trees or caves. Glue or tape these pieces to the inside of the shoebox to form the winter habitat. Adding Snow and Details: Use cotton balls to create a snowy effect on the ground and around the habitat. Add details like rocks, twigs, or small branches to enhance the natural look of the diorama. Including the Hibernating Animal: Print or draw an image of a hibernating animal (such as a bear, hedgehog, or bat) and cut it out. Position the animal inside the diorama to show it hibernating in its shelter (such as a cave, burrow, or den). Discussion and Exploration: Encourage children to observe their dioramas and discuss what they have learned about hibernation. Ask questions such as: "What animal did you choose to show hibernating?" "Why did you select this particular winter habitat for your animal?" "What adaptations does the animal have for surviving the winter". Sharing and Display: Display the completed dioramas in the classroom or a designated area to showcase each child's creativity and understanding of hibernation. Group Collaboration: Have children work in pairs or small groups to create larger dioramas featuring multiple hibernating animals and their habitats. Interactive Presentations: Encourage children to present their dioramas to their classmates, explaining the hibernation habits of their chosen animals. Seasonal Changes: Create dioramas that illustrate the transition from winter to spring, showing animals emerging from hibernation.
Days of the Week Paper Chain
Materials:
- Colored paper (different colors for each day)
- Craft decorations (stickers, glitter, etc.)
- Markers or pencils
- Scissors
- Tape or glue
Preparing the Paper Links: Cut the colored paper into strips, with each strip representing a day of the week. Ensure there are enough strips for all seven days. Writing and Decorating: On each paper strip, write the name of one day of the week (e.g., Monday, Tuesday) using markers or pencils. Encourage children to decorate each strip with drawings, stickers, or craft decorations related to that day or their favorite activities on that day. Forming the Paper Chain: Form a loop with one paper strip and secure it with tape or glue to create the first link of the chain. Insert the next strip through the first loop and secure it to form the second link. Continue this process, linking each day of the week in order, until all seven days are connected to form a chain. Displaying the Paper Chain: Once the paper chain is complete, hang it in the classroom where children can easily see and interact with it. You can hang it across a wall, along a bulletin board, or from the ceiling. Discussion and Learning: Use the paper chain as a visual aid to reinforce the sequence and names of the days of the week. Engage children in discussions about their favorite activities on specific days or any special events they associate with certain days. Seasonal Themes: Decorate each paper link with seasonal symbols or colors. Learning Activities: Use the paper chain to plan weekly activities or events for the classroom. Interactive Quizzes: Quiz children by asking them to find and touch specific days on the paper chain.
Paper Plate Clocks
Materials:
- Paper plates
- Paints or markers
- Cardboard or foam cutouts for clock hands (hour and minute hands)
- Download clock hands
- Paper brads
- Scissors
- Glue (if not using brads)
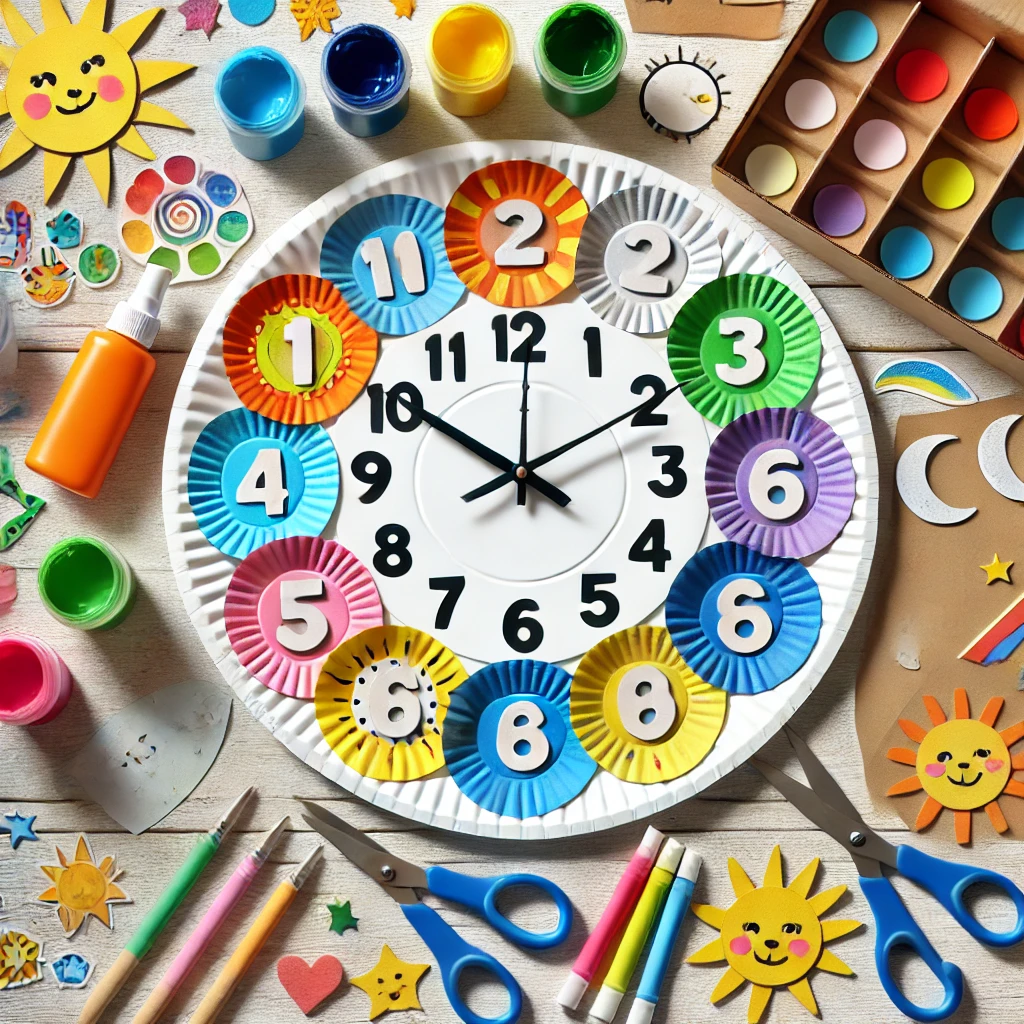
Preparing the Clock Face: Provide each child with a paper plate. This will serve as the base for their clock. Help them paint or color the paper plate to resemble a clock face. They can divide the plate into 12 equal sections and label them with numbers from 1 to 12. Creating Clock Hands: Cut out two hands from cardboard or foam. One hand should be shorter for the hour hand, and the other should be longer for the minute hand. Optionally, paint or decorate the clock hands to make them more colorful and easy to distinguish. Attaching the Clock Hands: Use a paper brad to attach the clock hands to the center of the paper plate. Poke a hole in the center of the plate and insert the brad through the hole and through the clock hands. Alternatively, you can use glue to secure the clock hands in place if you do not have brads. Learning Time: Explain to the children how to read a clock. Demonstrate how the hour hand indicates the hour and the minute hand indicates the minutes. Encourage them to practice moving the clock hands to different positions and identifying different times. Interactive Learning: Engage children in activities where they can practice telling time using their paper plate clocks. For example, ask them to show specific times or quiz them on what time it will be in a certain number of minutes. Discussion and Extension: Discuss with children the importance of time and how clocks help us organize our day. Extend the activity by incorporating discussions about morning, afternoon, and evening routines based on different times shown on the clocks. Digital Clocks: Instead of using numbers, use stickers or printed numbers to create a digital clock display. Decorative Clock Faces: Encourage children to decorate their clock faces with additional designs, such as suns or moons, to indicate day and night.
Felt Bookmarks
Materials:
- Colorful felt sheets
- Scissors
- Glue
- Decorative materials (buttons, ribbons, sequins, etc.)
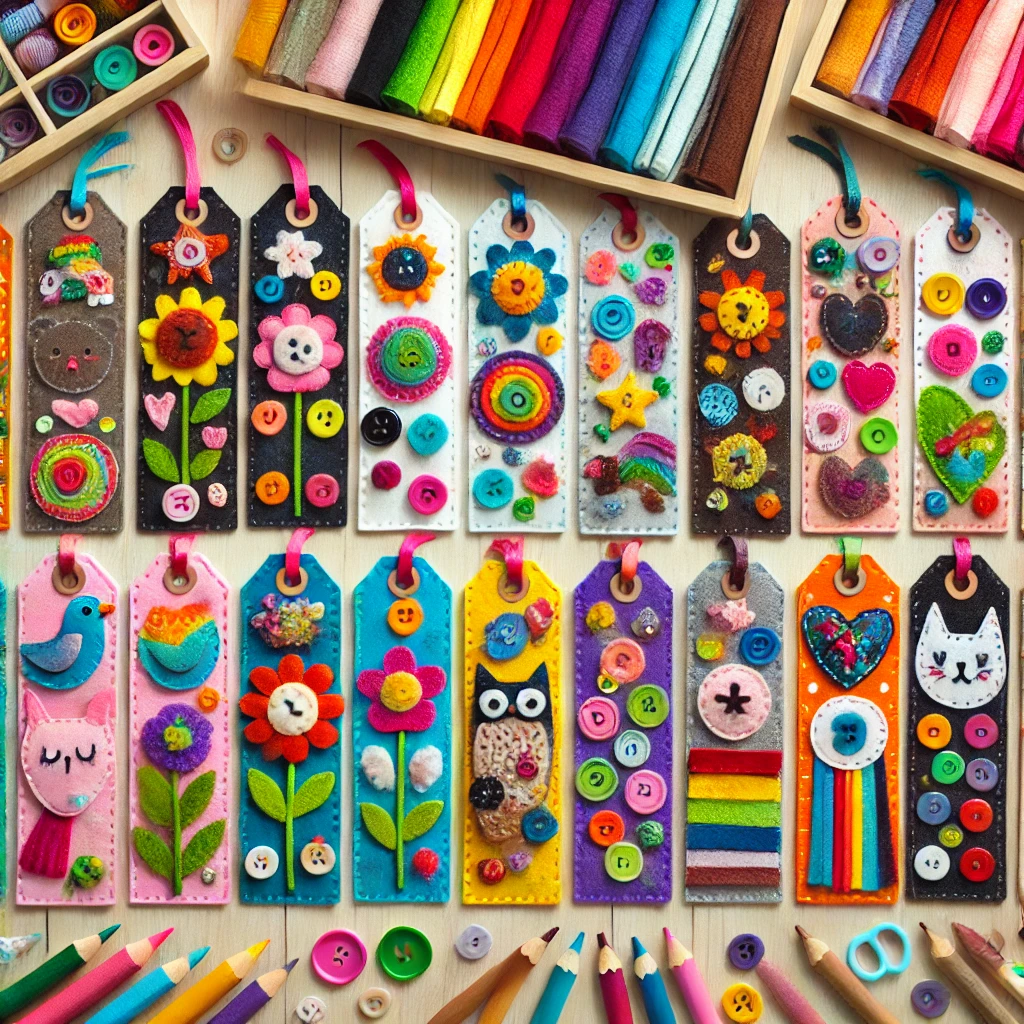
Preparing the Felt Bookmarks: Provide each child with colorful felt sheets and scissors. Help them cut out rectangular pieces of felt to serve as bookmarks. The size can vary based on their preferences, but typically around 2 inches by 6 inches works well. Decorating the Bookmarks: Encourage children to use glue and decorative materials like buttons, ribbons, sequins, and felt scraps to embellish their bookmarks. They can create designs, patterns, or even glue on characters from their favorite books to personalize their bookmarks. Adding Personal Touches: Encourage children to add personalized messages or quotes related to reading and books using markers or by cutting out felt letters. Drying and Final Touches: Allow the glue to dry completely before handling the bookmarks further. Once dry, children can trim any excess materials and ensure their bookmarks are secure and ready to use. Using and Sharing: Encourage children to use their felt bookmarks in their favorite books or share them as gifts with friends and family who love reading. Discussion and Reflection: Discuss with children the importance of bookmarks in keeping track of their reading progress and favorite pages. Ask them to share their favorite books or characters that inspired their bookmark designs. Theme-based Bookmarks: Create bookmarks with specific themes such as animals, seasons, or holidays. Book Character Bookmarks: Cut out felt shapes of popular book characters and attach them to the bookmarks. Educational Bookmarks: Write vocabulary words or math equations on the bookmarks for educational reinforcement.